How to create Communities in Salesforce

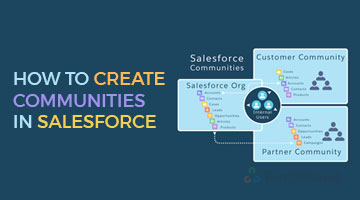
Communities in Salesforce can be created to connect Customers, Employees, and Partners at one place. Communities can be customized based on the requirement of entities. This enables communications with Internal, External and Portal users.
Below are the steps to create Communities in Salesforce:
Step-1: Enable the Communities
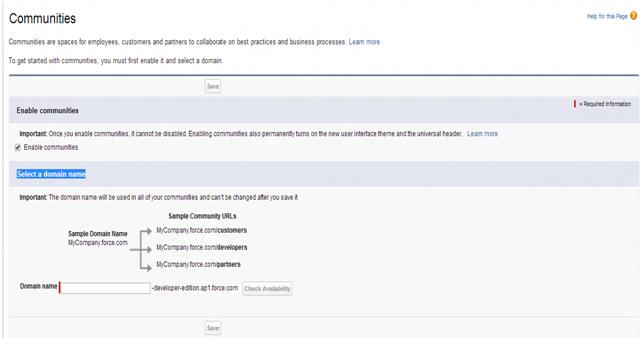
- Go to Build-> Customize->Communities->Click Communities Settings. It display the below screen

- Now tick the checkbox “Enable communities”
Once enabled the communities it will ask for the domain name, show in below image. Specify the domain name and click save button

Step-2: Setup profiles to login to the community
- Once the community is created click “Workspaces”, it navigates to the community page as shown below.

- Now click “Administration” it navigates you to the below screen.

- Then click “Members” to provide access to the Profiles and also to the permission sets, refer below screen.

Step-3: Customize the Login page
- Go to Administration page and click “Login & Registration” it displays the below screen.

- Now you can give your company logo in login page. Whenever user open your community link, then you can show your company logo in header and show your content in footer.
Step-4: Publish It
Once you are done with everything and ready to use the community then click on publish as shown in picture.


